
Colorful Creativity: Making A Custom Name Plate Using Melted Crayons
Creating a melted crayon name plate using wood, old crayons, a heat gun, and a CNC machine can be a fun and artistic project that combines traditional crafts with modern techniques. By following a few simple steps, you can transform a plain wooden name plate into a vibrant and unique piece of personalized art.
You will need a wooden name plate, preferably one with a smooth surface, old crayons in various colors, a heat gun, and access to a CNC machine.
Begin by preparing the wooden name plate, ensuring its cleanliness by removing any debris or dust. Lightly sand the surface to establish a smooth foundation for optimal adhesion of the crayons. Next, choose the desired colors of crayons for your design. You can either use a specific color scheme or mix different shades to create a vibrant blend.
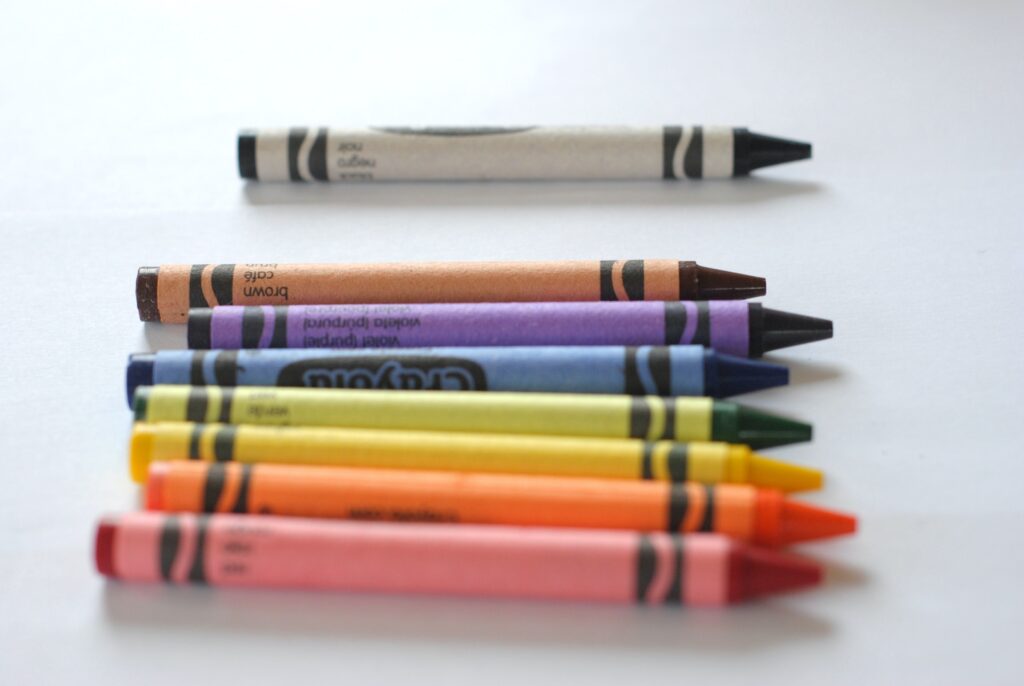
Now, it’s time for the thrilling step. Take the old crayons and carefully strip off the paper wrappers. Break them into smaller pieces, approximately one inch in length, for easier melting and application. Arrange the crayon pieces along the top edge of the name plate, creating a line or pattern that suits your taste.

Once the crayons are in place, it’s time to apply heat. Use a heat gun on a low setting and hold it about 2-3 inches away from the crayon pieces. Move the heat gun along the crayons, allowing the heat to melt them. As the crayons melt, they will create colorful drips and patterns that flow down the wooden surface.
After the crayons have melted and formed a desired design, allow the name plate to cool and the wax to solidify. Once cooled, you can further personalize the name plate by using a CNC machine to carve or engrave names, initials, or any other desired details into the wood.