Creative Summer Footwear: Making Your Own Duct Tape Flip Flops
Duct tape is a versatile and durable material that can be used for a wide range of DIY projects, including making your own flip-flops.

Making DIY duct tape flip-flops is a fun and easy project that requires minimal materials and can be customized to fit your personal style. Here is a step-by-step guide on how to make duct tape flip-flops at home.
Step 1: Gather your materials
To make duct tape flip-flops, you will need a few basic materials. These include duct tape, scissors, a ruler, a marker, a pair of foam flip-flops, and, optionally, some decorative elements like glitter or paint.
Step 2: Measure and cut the duct tape
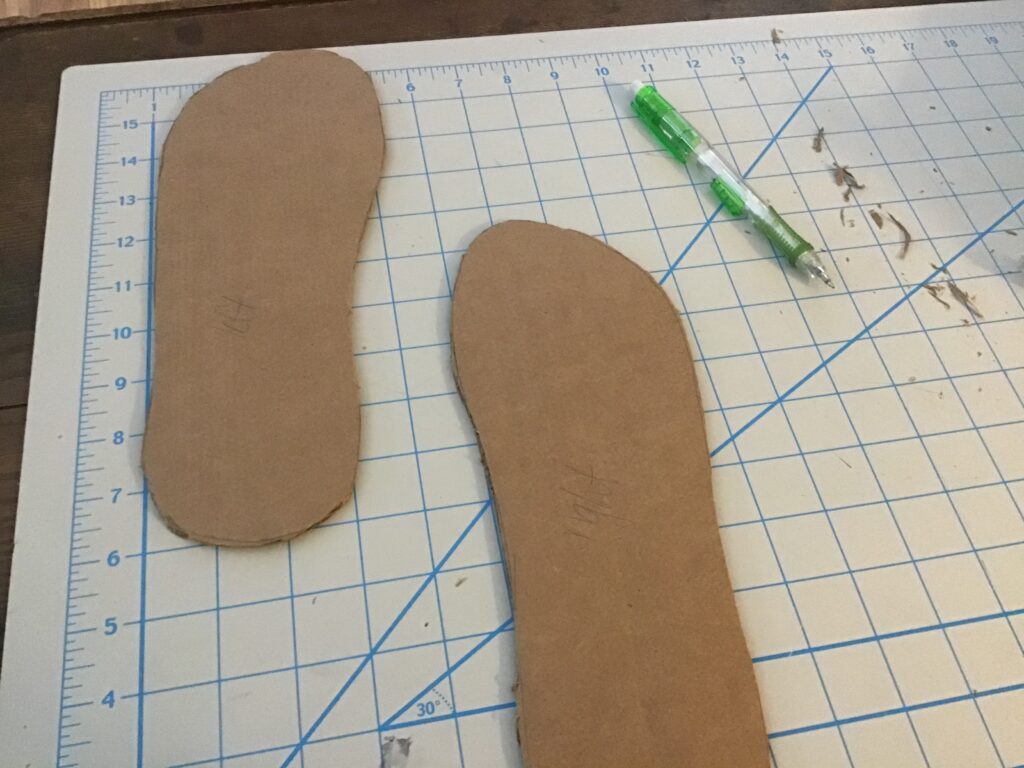
Using a ruler and a marker, measure and mark a strip of duct tape that is slightly longer than the flip-flops. Cut the strip of duct tape in half lengthwise so that you have two narrow strips.
Step 3: Attach the duct tape to the flip flops
Starting at the toe of the flip-flops, attach one of the duct tape strips to the sole of the flip-flop, pressing it down firmly to ensure a good seal. Continue wrapping the duct tape around the flip-flop, overlapping each wrap slightly until you reach the heel. Repeat this process for the other.

Step 4: Create the straps
Cut two more strips of duct tape that are long enough to create straps for your flip-flops. Fold each strip in half lengthwise to create a double-layered strip. Attach each strap to the inside of the flip-flop sole, about 1 inch from the edge of the sole.
Step 5: Decorate (optional)
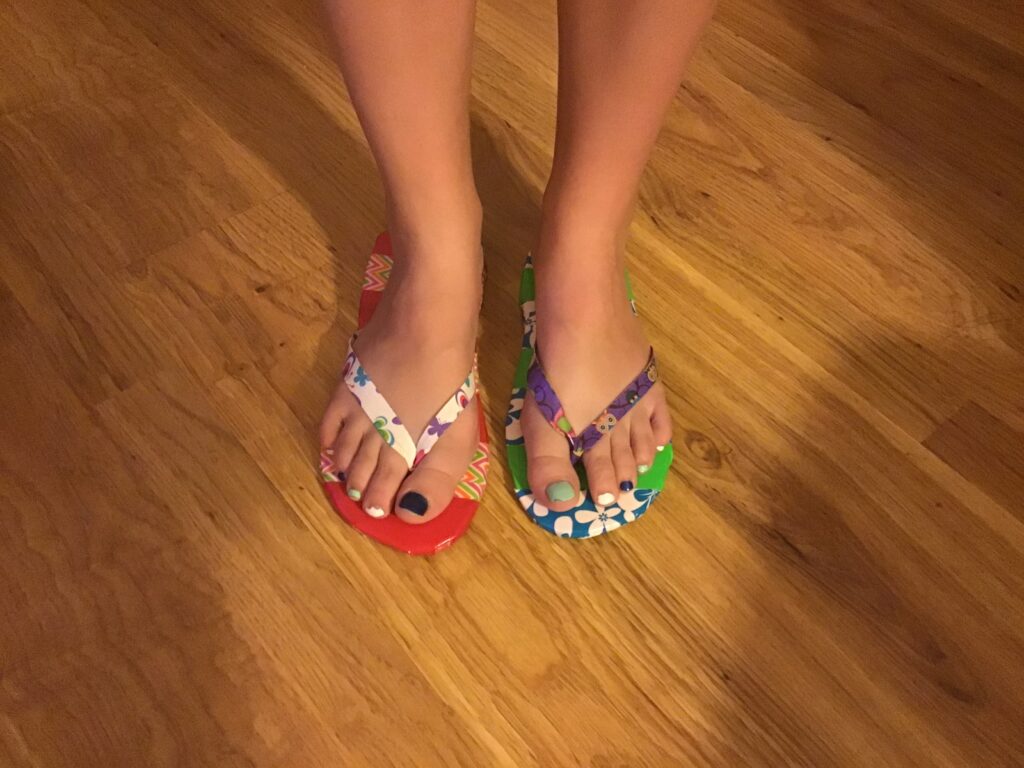
If desired, you can decorate your duct tape flip-flops with additional duct tape, glitter, paint, or other decorative elements. Be creative and have fun with it!
Making DIY duct tape flip flops is a fun and easy project that can be done in just a few simple steps. With a little bit of creativity, you can create a stylish and durable pair of flip-flops that are perfect for lounging at home or hitting the beach.
