
DIY Floral Accent Wall Using Stencils
Today, we will have a look at the DIY project of floral accent walls using stencils. By the end of the project, you would be having the best results, which would probably look like it has been finished by a professional.
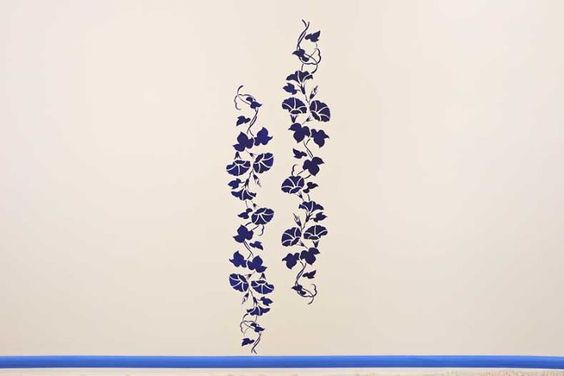
In this DIY floral accent wall project, we will be using the Morning Glory Border Stencil. For reference, the pictures contain‘ Benjamin Moore Navajo White’ and ‘Midnight Navy.’ However, you don’t specifically have to choose these and can opt for a color of your choice. Instead of going with a stencil brush near the baseboard, we suggest using a 4-inch stencil roller. Utilizing a clip-on stencil level is very important in this project so that the stencil rows are kept straight every time.
Process:
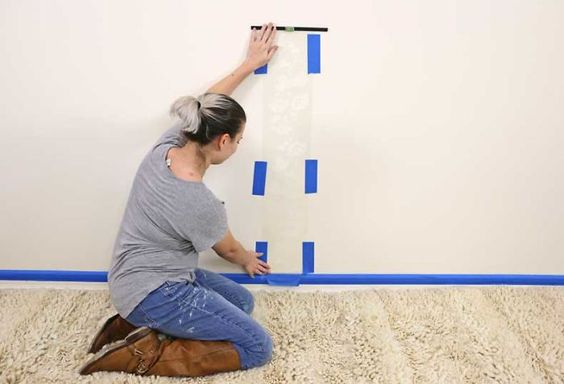
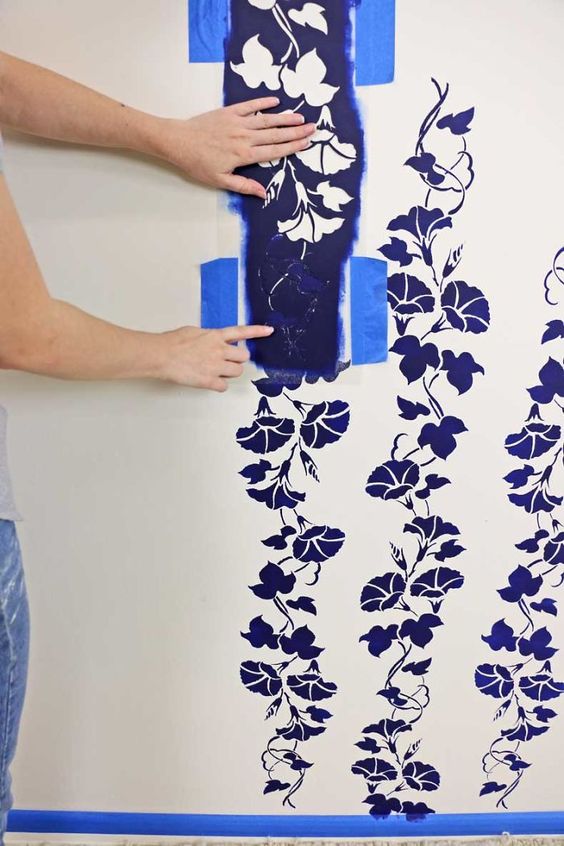
With the help of a painter’s tape, cover the baseboard, and set up the stencil on your wall. You must make sure that the bottom part of the stencil is close to the baseboard. The bubble in the stencil level should come in the center so that the stencil is straight.
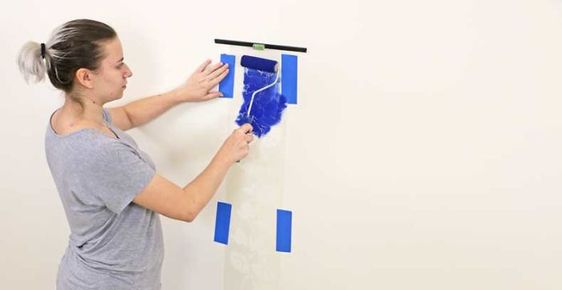
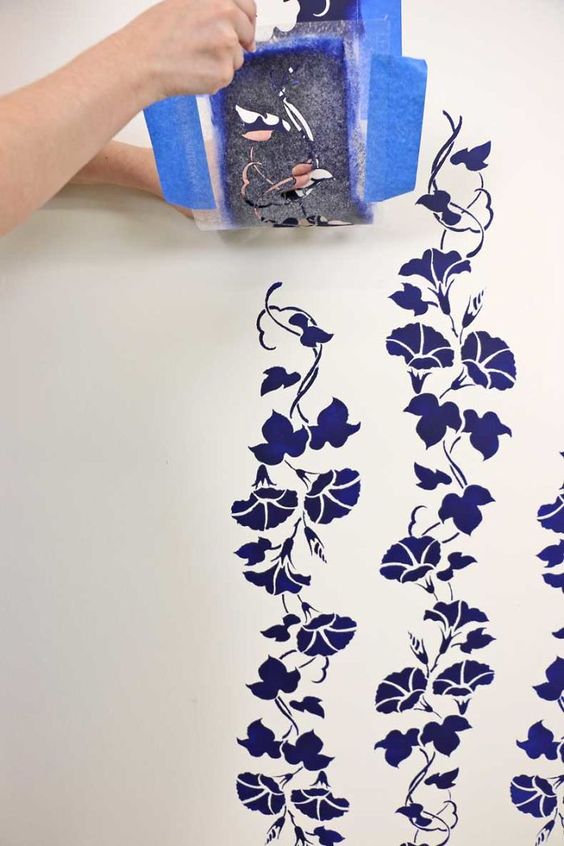
With the help of a 4-inch roller, start stenciling! Remove the excess paint from the roller with the help of a paper towel before you start stenciling. If you think that the color is not deep enough, wait until the paint dries up and add a second coat of paint if you still think it is necessary. If you apply paint in thin layers, then it should not take much time to dry up.
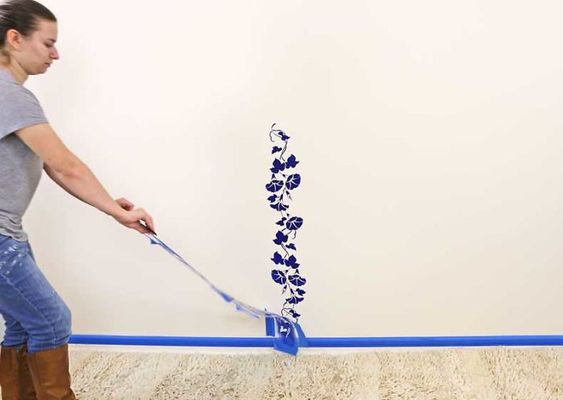
Peel the stencil so that you can have a look at your beautiful floral design. If the background is white, the dark blue color would add a lot of contrast to it.

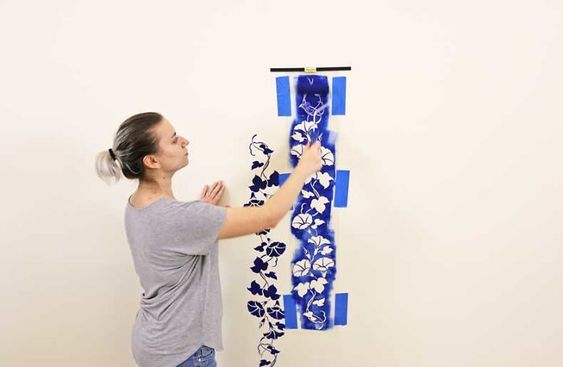
Optionally, you can turn the stencil upside down for the next line so that it would seem like the flowers are facing upward. However, this one upward and one downward pattern depends on your personal preference. If you do opt for this, remove the clip-on stencil level and reposition it to be a bit higher than the previous stencil level. This makes the floral design look more authentic and attractive.

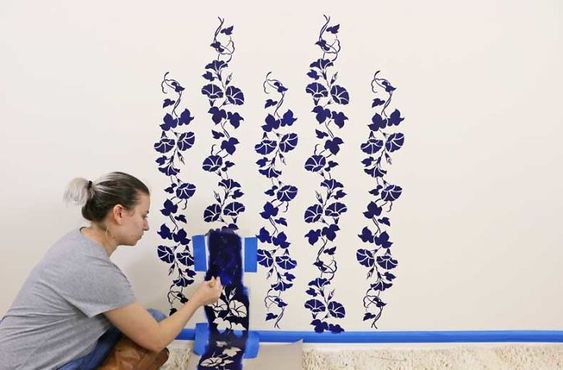
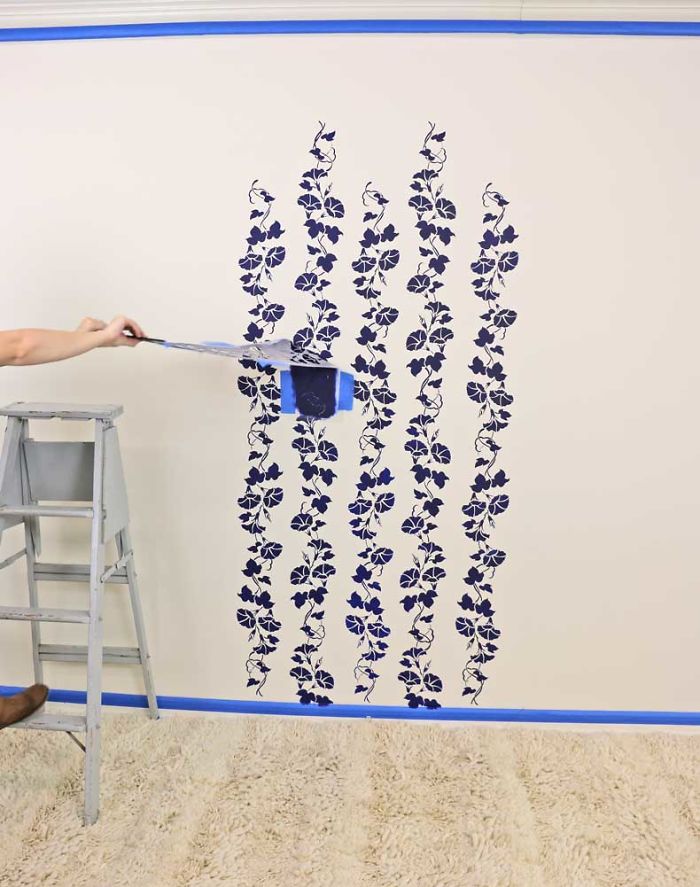
Repeat the process until the entire wall is covered with a floral design. The result of your accent wall would be looking amazing.
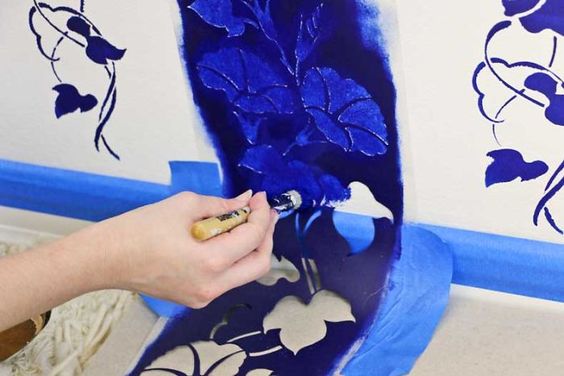
While doing near the baseboard, align the stencil with the previously done stencil design. It is okay to bend the stencil to make it fit perfectly into the baseboard.
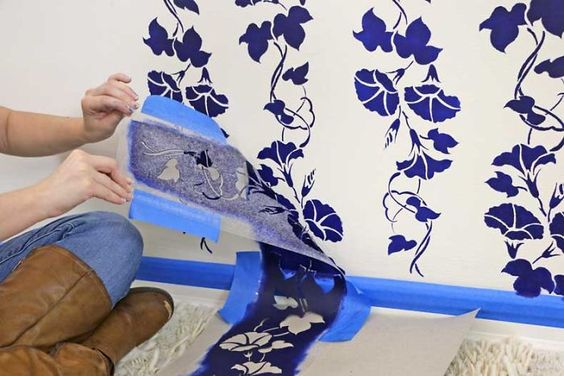
With the help of a stencil brush, bind the paint to the baseboard and ensure there is no space between the stencil design and the baseboard. This will make the design acquire an efficient line after removing the tape. Peel off the stencil to take a look at the bottom part of the morning glory vine. Repeat the process of the bottom section as well, and finally, your floral accent wall would be complete.
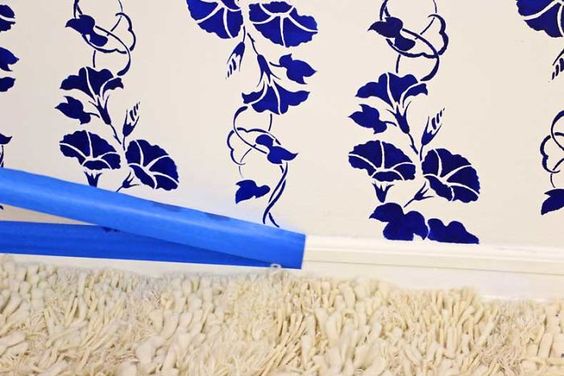
After completing the process of painting, remove the painter’s tape from the baseboard. Enjoy the scenery of your floral accent wall.