DIY Project: Crafting A Food Dispenser From A Plastic Bottle And Ball Jar
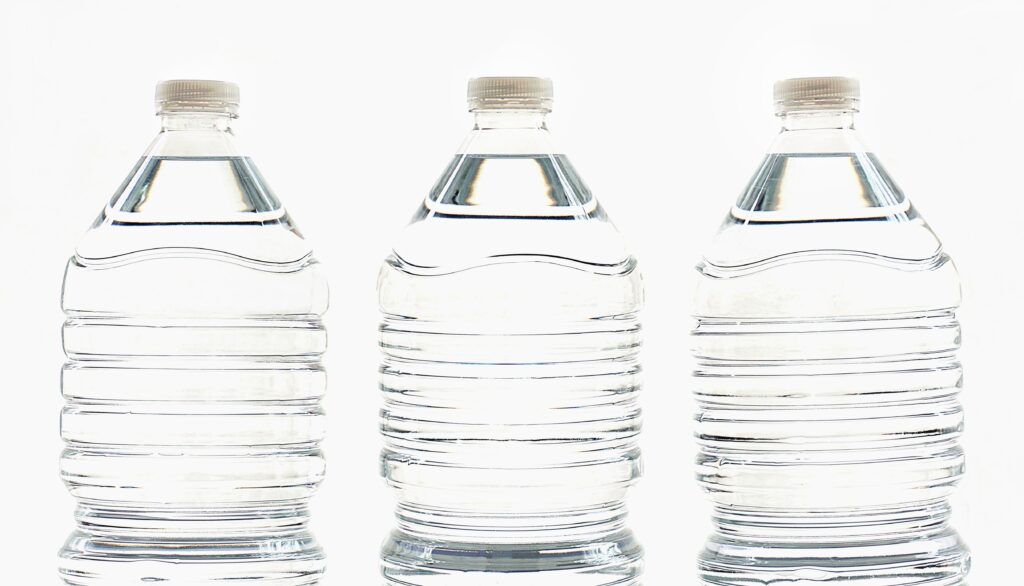
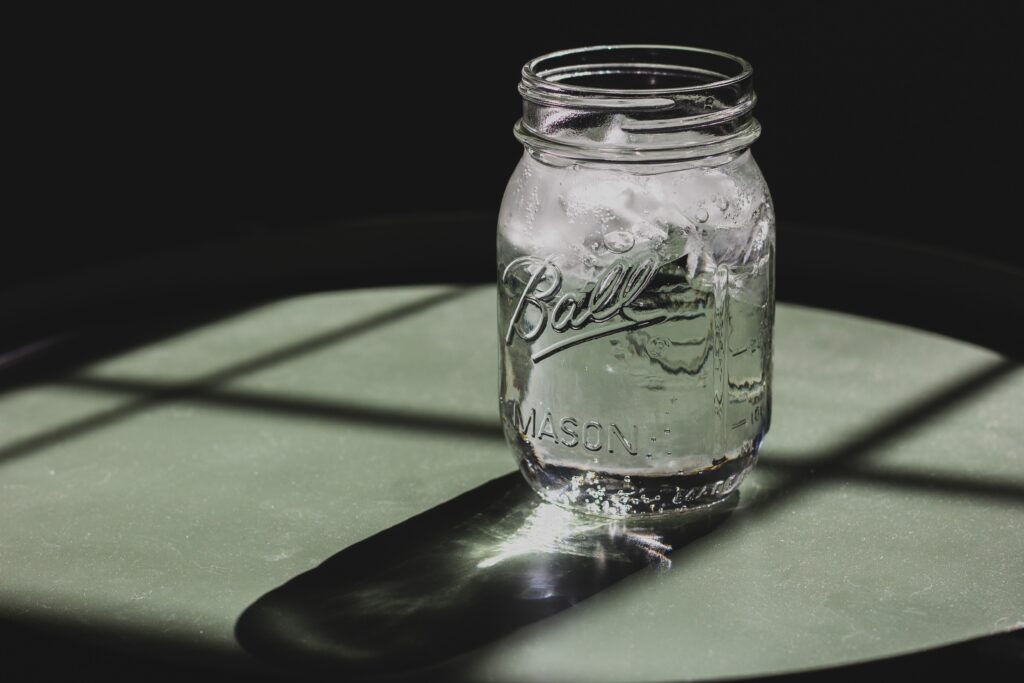
Creating a DIY food dispenser using a plastic bottle and a ball jar is a fun and easy project that also promotes recycling. For this project, you’ll need a clean plastic bottle (2-liter works best), a ball jar (a clear, dome-shaped glass cover), a glue gun, a knife, and some sandpaper.
Presented below is a comprehensive set of instructions detailing the process of constructing your very own food dispenser.
Preparation: Start by cleaning the plastic bottle and the bell jar thoroughly. Dry them completely to ensure the glue will adhere properly.
Cutting: Use the knife to cut a small hole (about 2-3 inches wide) near the bottom of the plastic bottle. This will serve as the exit point for the food. Smooth the edges of the hole with sandpaper to avoid sharp edges.
Assembly: Turn the plastic bottle upside down (cap side down) and place it into the open end of the bell jar. Ensure that the cut hole is oriented downward, positioned slightly above the bottom surface without making direct contact. This setup will create a reservoir for the food in the bottle and a bowl (the bell jar) from where your pet can eat.
Sealing: Use the glue gun to seal around where the bottle meets the bell jar. Make sure it’s completely sealed to prevent food from leaking out. Allow the adhesive to dry thoroughly before proceeding further.
Filling and Usage: Remove the bottle cap and fill the bottle with pet food or any dry food. Replace the cap, and let the food fall into the bell jar. The food will automatically refill as space becomes available in the jar.
This simple DIY food dispenser is not only a fun project but also an excellent way to repurpose plastic bottles. It’s perfect for feeding pets while you’re away or for dispensing snacks for kids. Furthermore, the transparent bell jar enables effortless monitoring of the refill status, facilitating timely replenishment.