
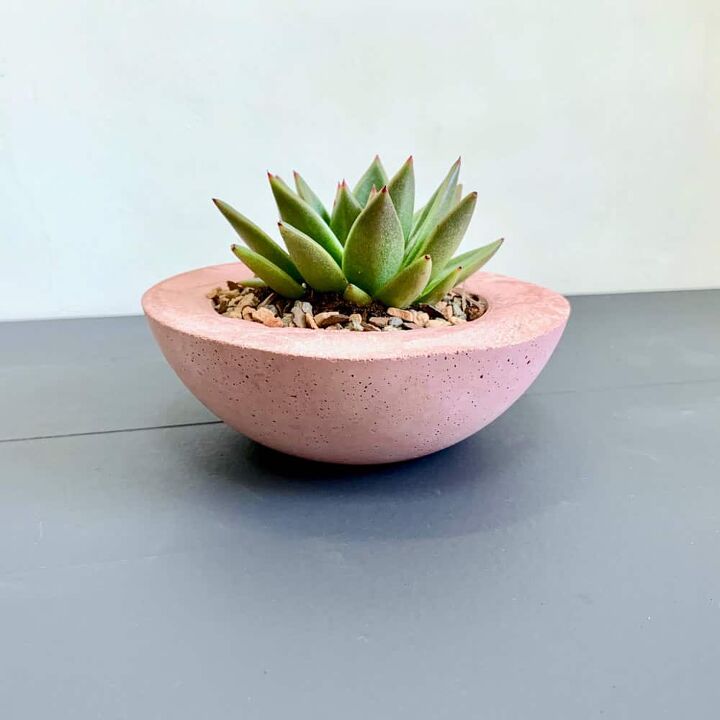
How To Make A Colored Cement Planter
If you’re on the search for an easy DIY potting solution to spice up your pot plant collection, look no further! This is a super-easy way to create an attractive colored pot using cement, presented by a concrete enthusiast and avid DIY fan.
What You’ll need:
- Cement
- A powdered pigment (you can also use acrylic paint or latex)
- Two bowls for the inner and outer moulds, a big one and a smaller one
- Glue gun
- A weight
- Sand paper
- A straw
How to Make It:
Cut a small piece of straw. This will serve as the drainage hole for your pot. Using the glue gun, fill the straw with glue and attach it to the bottom of the outer mold.
Place about 1 ½ cups of cement, along with no more than two teaspoons of dye, into a disposable mixing bowl. Add water and stir the mixture well – you can use your hands with gloves. Make sure that there aren’t any lumps and that it’s not too watery.
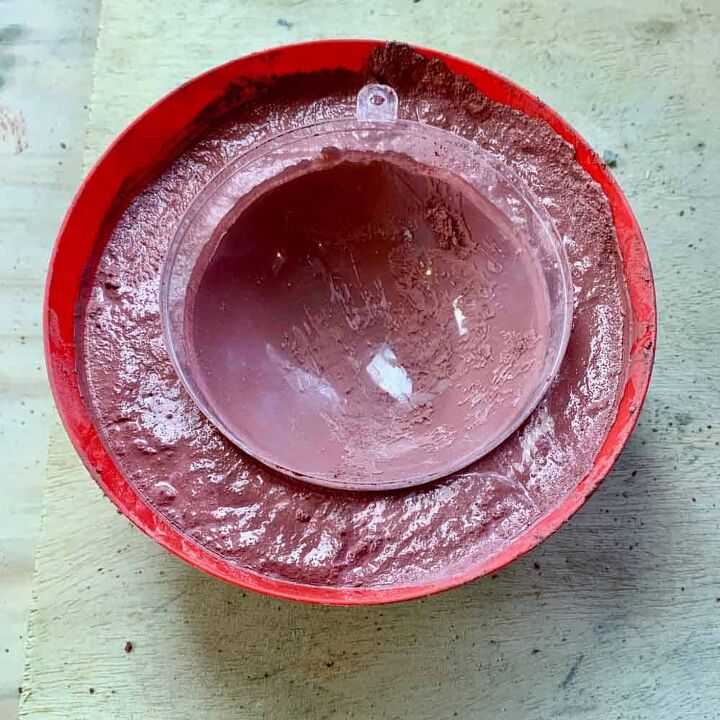
Next, you can scoop the mixture into the outer mold. Shake the bowl and tap it on a table or the ground to get any air bubbles out. Place the inner mold into the center of the bowl and push it down until it touches the straw. Once in place, put something heavy on top to keep the inner mold in place. Allow the cement to cure for at least 2 hours.
Remove the inner mold by hand, then flip the mold over to remove the outer mold., You can heat the bottom of it or give it a few knocks. Once it’s out, give the edges a quick sanding down, and you’ve got yourself a lovely colored planter!