
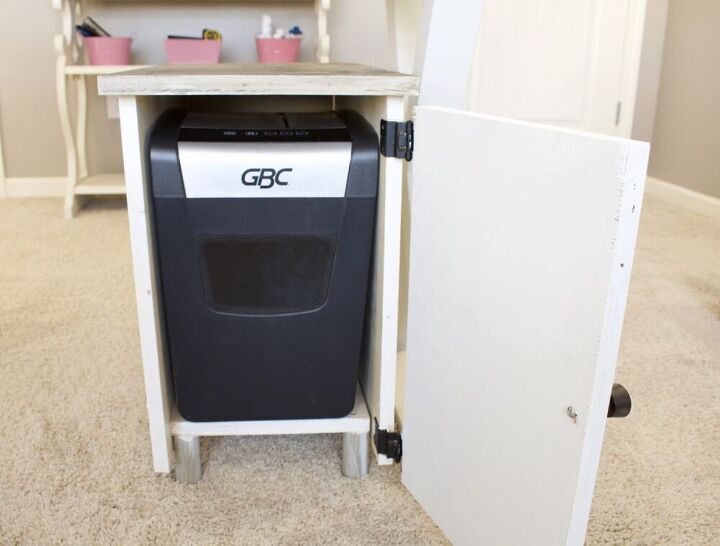
Making A DIY Cabinet For Your Office Shredder
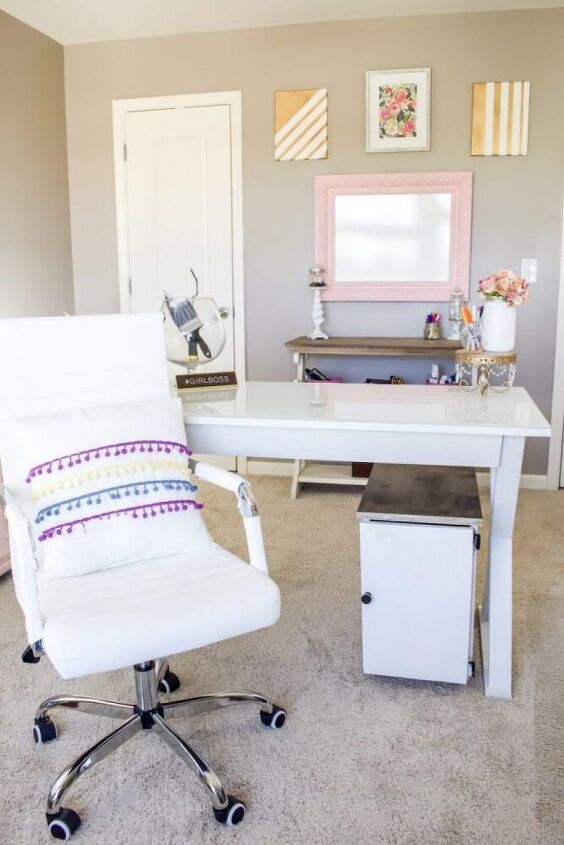
You know that feeling when a piece of your office equipment stands out and makes the space feel cluttered, no matter how much tidying you do? Hometalk member Lia with Southern Yankee DIY had that same feeling when they noticed their office shredder standing out like a sore thumb after a cleaning session in the office. Luckily, they came up with a nifty solution, which we’re sharing with you today!
What you need:
- 1 Sheet ¾” Smooth Plywood
- Paint or Stain
- 1 Small Door Pull
- Dowel Rod or Cabinet Legs
- Wood Glue1 ¼”
- 1 ¼” Pocket Screws or Nails
Firstly, carefully measure the dimensions of the shredder, cut up the plywood to cover all the sides perfectly. You can build the frame by attaching the pieces using wood glue, pocket screws, and finishing nails.
Once you’ve attached the front, back, and sides, it’s time to attach the door. Use hinges to attach the door and make sure it sits flush, so there’s no trouble closing it. Another option is to have the top hinge open if you don’t have a table in the way.
You can use legs from a hardware store and attach them with screws through the cabinet base. The legs they used were about 3” long. To make your cabling easier, it’s a great idea to add a small hole into the back of the cabinet. Now all that’s left is to finish the cabinet with a coat of paint and add a doorknob, which you can also find at your local hardware store.
We hope this article helps you come up with some ideas to upgrade your office!