Organize Your Workspace With A DIY Origami Desktop Organizer Made From Playing Cards
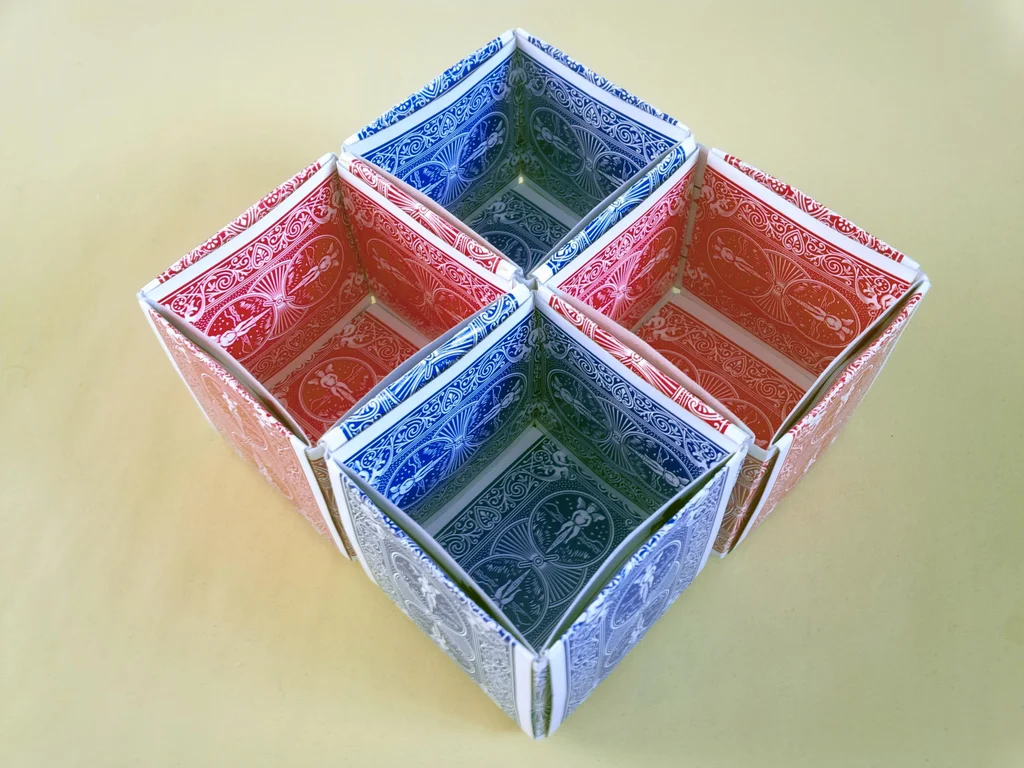
Building an origami desktop organizer from playing cards is a creative and practical way to add a touch of uniqueness to your workspace while keeping your desk tidy. This simple DIY project combines the art of origami with the functionality of a desktop organizer, resulting in a compact and visually appealing storage solution.

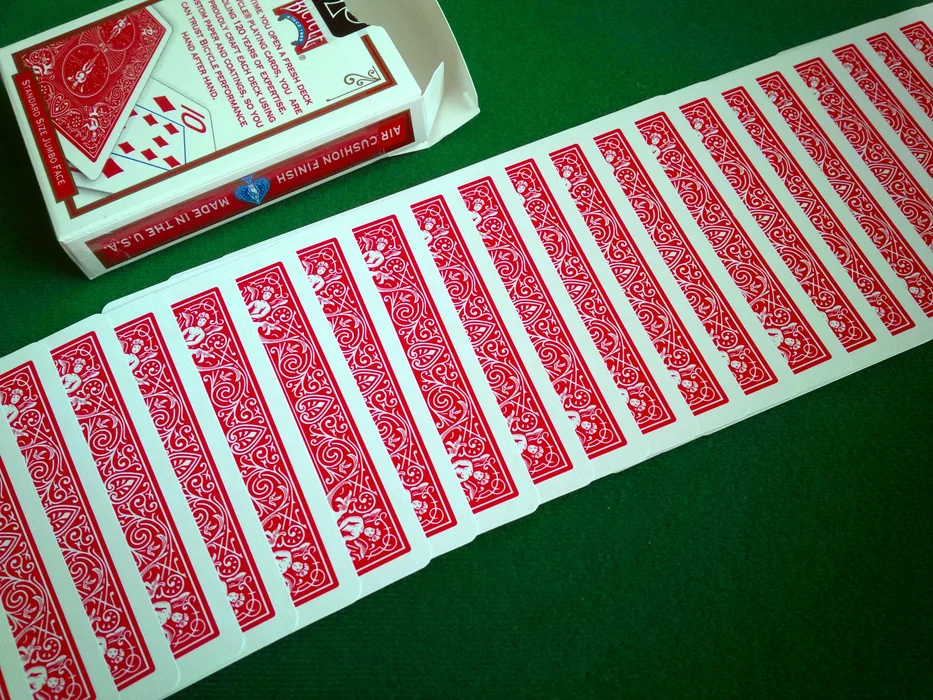
To begin, gather a deck of playing cards and select around 20 cards of the same size and design. The uniformity in size will ensure that the organizer is sturdy and symmetrical. Take each card and fold it in half vertically, aligning the edges precisely. This step creates a crease down the middle, marking the center point of each card.
Next, take two folded cards and connect them by interlocking the creases, forming an “X” shape. This process will be repeated to join additional cards, gradually building the structure of the organizer. By interlocking the cards, you create compartments of varying sizes to accommodate different items such as pens, paper clips, or sticky notes.
Continue adding more folded cards to expand the organizer, ensuring that the interlocked sections remain sturdy and balanced. As the structure grows, you can experiment with different arrangements to suit your specific needs and aesthetic preferences. Perhaps you prefer a symmetrical design or a more asymmetrical arrangement for an artistic touch.

Once you’re satisfied with the size and layout, gently press down on the cards to secure the connections and reinforce the overall stability. The rigidity of playing cards makes them ideal for this project, as they can maintain their shape without additional support.
Finally, place your origami desktop organizer on your desk and start arranging your stationery and office supplies in the compartments. Enjoy the satisfaction of having a unique and functional organizer that reflects your creativity and helps keep your workspace organized.
