Simple Technique To Space Your Board Batten Wall
Board and batten walls can be a perfect way to hide many types of imperfections or unattractive renovations. If you find it hard to space your boards evenly on a wall, then this article would come in handy for you.
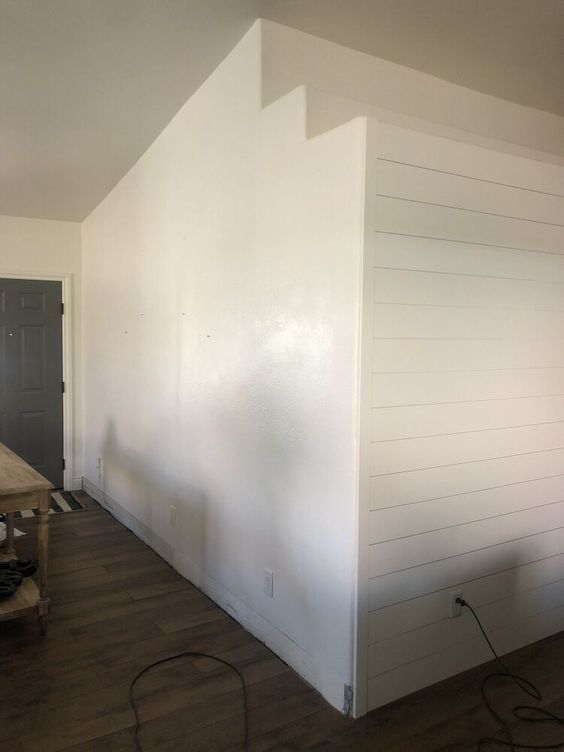
What’s more, the total money necessary for taking care of all the processes turns out to be lower than you would expect. Without further ado, let’s dive into the topic for today, i.e., “Easy formula for spacing your Board and Batten Wall.”
1. Measurements
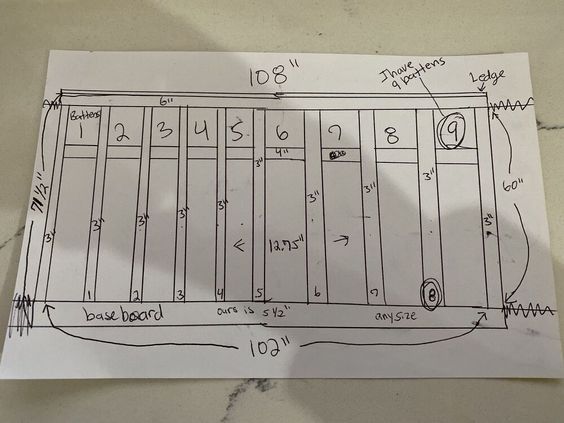
Having a diagram of the result would be helpful, and therefore measuring the wall is the most crucial part of the process. In most cases, people want their horizontal boards to be around 3 inches, but you can opt for more or less; it’s your choice.
Next, you must have an idea about the battens, which means the length of the batten. Depending on the number of boards, you can come up with the length of battens.
For example, let’s see an example where your wall is around 108 inches. Now, subtract 6 inches because you would need two horizontal boards on each end. That leaves you with 102 inches. Let’s assume that you have 8 boards, and these 108 inches divided by 8 would leave you with 12.75 inches. Hence, each batten would have 12.75 inches of space, and you can use your measurements instead to find out your specific requirements.
2. Necessary Materials
- 2 MDF boards (4 feet x8 feet)
- Measuring tape
- Top trim ledge (preferred by you)
- Table saw
- Wood filler
- Sand block
- Caulking
- Paint & painting equipment
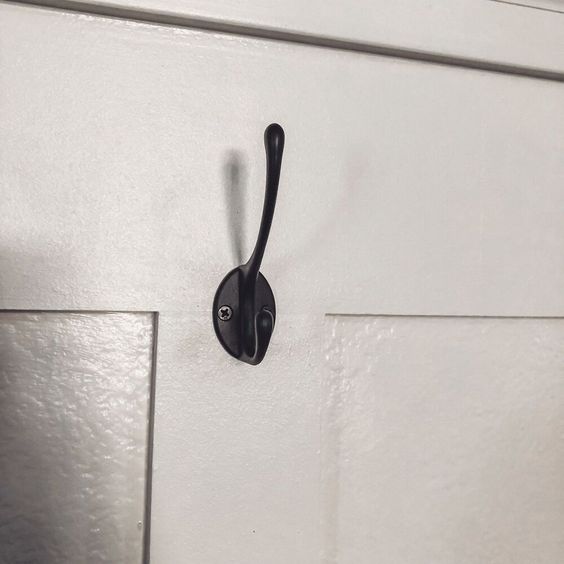
- Hanging Hooks
3. Procedure
You would have to cut:
- 6 – 6 inches horizontally
- 6 – 4 inches horizontally
- The remaining piece(s) of the board should be cut into 3-inch horizontal pieces.
You can either go ahead with the baseboard you have or change it with a new one, which would cost you a bit extra. If you opt for the existing one, make sure it has a flat surface to hold up the 3-inch horizontal boards. If not, then get a new one. You can find some relevant ideas for the existing baseboard on Pinterest.
You must also make sure how tall you need this board and batten wall to be because you would be having 96 inches of the board with the 4 by 8 feet boards. Let’s go with 60-inch-tall horizontal boards of three inches as most people opt for these measurements. Additionally, we will have to add another 5 ½ inches for the baseboards and 6 inches for the top of the portion. This makes the total height around 71 ½ inches.
Note – As mentioned earlier, these measurements are for reference, and you can go ahead with the measurements you like.
Now, place the 6-inch top board, which should be 60 inches from the bottom of the baseboard. It is recommended to place the 3-inch board at an end first and start placing one by one at 12.75 inches. To ensure better results, cut these 3-inch boards one at a time until the 6-inch board is in the perfect place. If possible, measure another time and make sure that the 6-inch is 60 inches exactly.
The 4-inch boards should make square boxes, so cut them 12.75 by 12.75. while cutting these 4-inch boards, measure the length again. By mistake, if there was a bigger gap than what you required, then you can use the filler afterward. Else, you can start over as you would still have some extra wood.
Based on the requirements, you can fill in the holes with the wood filler, caulk it, sand it, and finally paint it with the color of your choice. It isn’t necessary to explain these things elaborately as everyone is familiar with these things. Finally, you can set up hanging hooks to make utilize the wall, or you can leave it like it is (depending on your choice).